Features
Inspecting Thickness and Gap Without Cutting Apart Products (Non-Destructive Inspection)
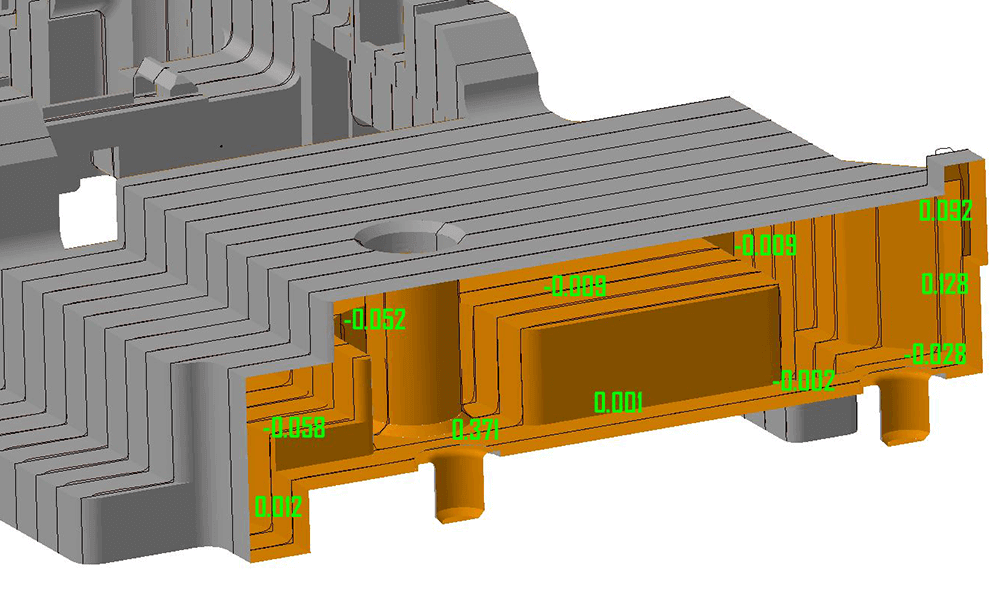
Wouldn’t you like to check an amount of thickness and gap from CAD data without cutting apart plastic products and cast/forged products?
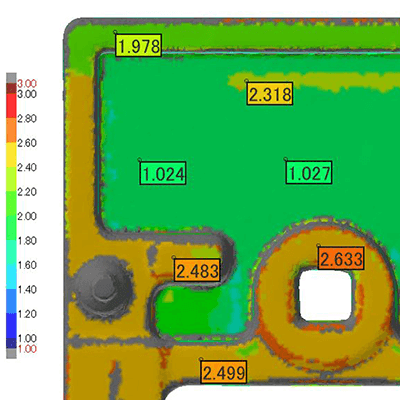
spGauge displays thickness as color gradations in 3D measurement point cloud data so that thickness values can be easily checked. It can also detect areas with thickness less than or equal to specified values within a short period of time.
By comparing cross sections of 3D point cloud data with that of the 3D CAD design data, you can quantitatively check the magnitude of errors in products, molds and dies.
If the item to be measured is a stamped product, you can also check the amount of spring-back and curvature variation, for which it takes time to measure with contact-based measurement and is difficult to determine the trend of such deformations.
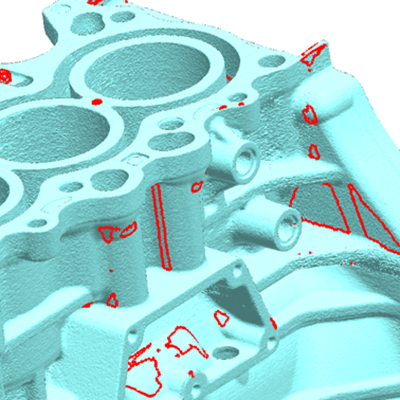
Inspecting a variety of cross section locations
Cross section locations to be inspected can be easily defined.
- XYZ axis directions
- 3D curved sections
- Circles
- Arbitrary directions
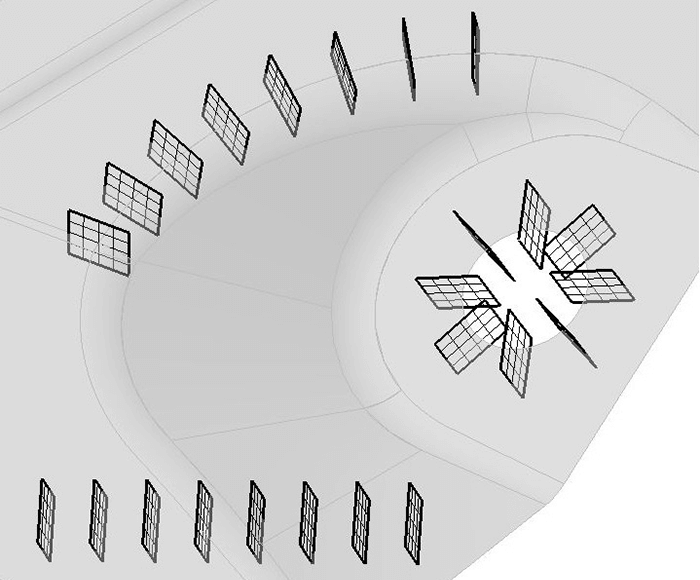
Gap comparisons with CAD design data
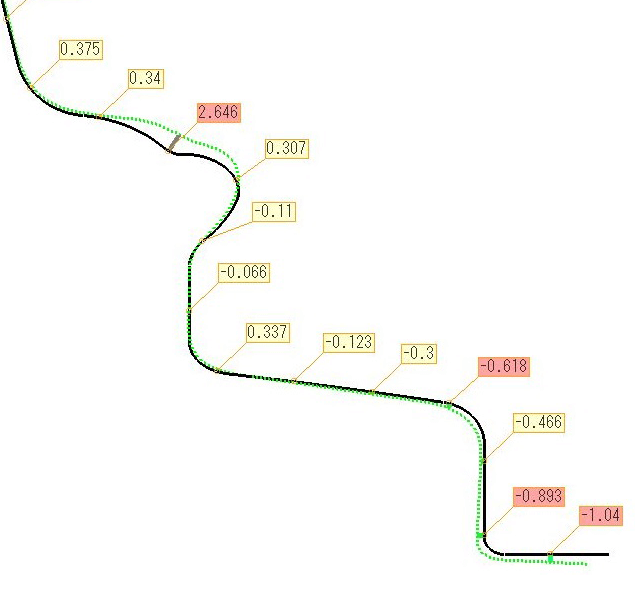
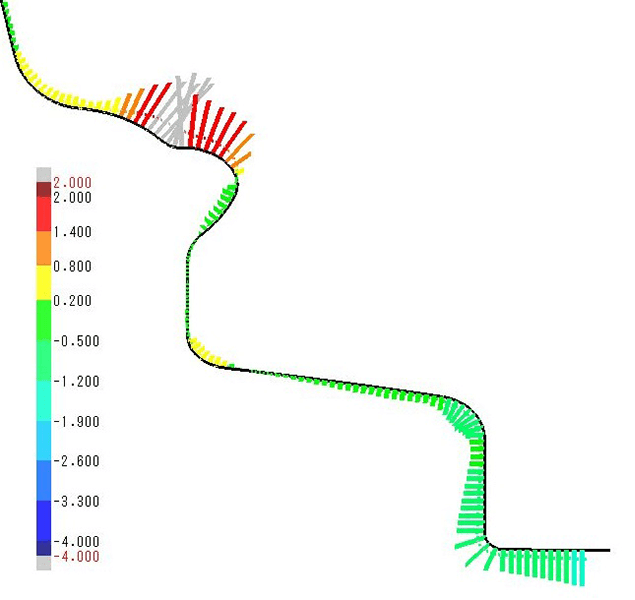
Deviations for the nearest point and the XYZ directions can be inspected and displayed at regular pitch intervals through sectional curves from measurement point cloud data and CAD design data.
Color gradation lines can also be highlighted in the direction of the deviations from the CAD data, allowing to easily determine the direction for correcting the mold.
Dimensional inspection
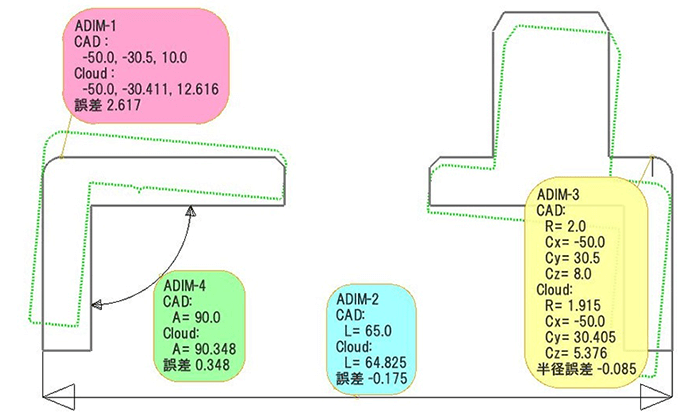
When information of inspecting area such as the nearest point from a point position, distance dimension, angle dimension, and circular arc diameter is entered into sectional curves of CAD design data, the sectional curves are created automatically from the measurement point cloud data to execute inspection.
tag : Sectional inspection
